


写在前面
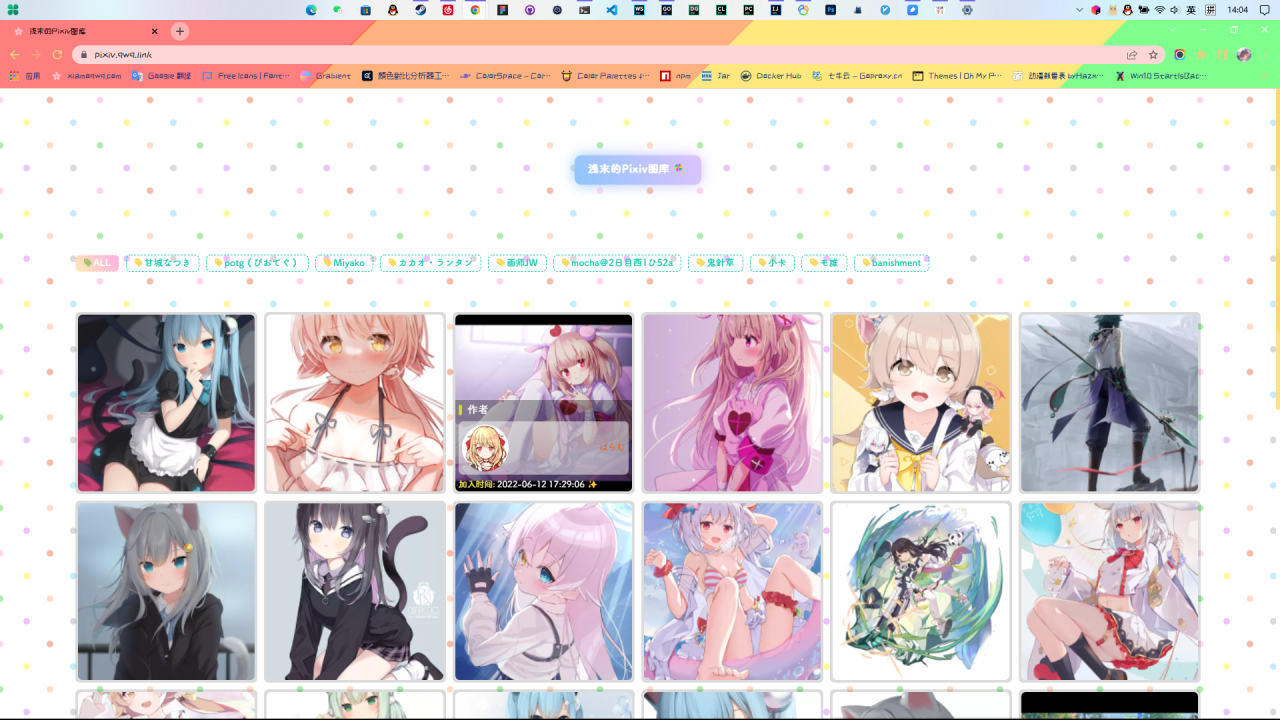
最近想把之前项目中的Pixiv插画展示页给分离出来,于是也就用到了一些以前封装的Vue2组件,顺带着熟悉一下Vue3 
其中用到了 createVNode 函数,和Vue2中的组件封装大同小异,但是没有Vue2那么繁琐了
Code
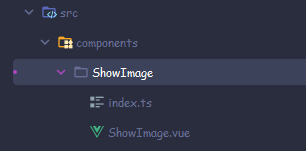
目录结构
index.ts
import {App, render, createVNode} from 'vue';
import ShowImage from "./ShowImage.vue"

const Main = function (urlV: string | string[]) {
    const container = document.createElement('div')
    container.setAttribute("class", "image-show")
    // 创建虚拟 DOM
    const VNode = createVNode(ShowImage, {urlV})
    // 通过 render 函数挂载到页面中
    render(VNode, container)
    document.body.appendChild(container)
};

Main.install = (app: App<Element>) => {
    app.config.globalProperties.$Image = Main;
};

export default Main;
ShowImage.vue
<script setup lang="ts">
import {onMounted, ref} from 'vue'

let props = defineProps<{ urlV: { type: string | string[], default: '' } }>()

let url = ref<string>('')
let urls = ref<string[]>([])
let index = ref<number>(0)
let show = ref<boolean>(false)

const last = () => {
  if (index.value > 0) {
    index.value--;
  }
}

const next = () => {
  if (index.value < urls.value.length - 1) {
    index.value++;
  }
}

const close = () => {
  show.value = false
  let pDom = document.querySelector('.image-show')
  setTimeout(() => {
    if (pDom) pDom.remove()
  }, 300)
}

onMounted(() => {
  let type = typeof props.urlV
  // @ts-ignore
  if (type === 'string') url.value = props.urlV
  // @ts-ignore
  else urls.value = props.urlV
  show.value = true
})

</script>

<template>
  <div name="image-dialog">
    <transition name="ani">
      <div class="border" v-if="show" @click="close()">
        <div class="content">
          <i class="el-icon-arrow-left" v-if="urls.length > 0" @click.stop="last()"></i>
          <img @click.stop :src="urls.length > 0 ? urls[index] : url" alt=""/>
          <i class="el-icon-arrow-right" v-if="urls.length > 0" @click.stop="next()"></i>
        </div>
      </div>
    </transition>
  </div>
</template>

<style scoped lang="scss">
.ani-enter-active,
.ani-leave-active {
  opacity: 1;
  transition: all 0.3s;
}

.ani-enter,
.ani-leave-to {
  opacity: 0;
}

.border {
  position: fixed;
  top: 0;
  right: 0;
  bottom: 0;
  left: 0;
  z-index: 9999;
  display: flex;
  align-items: center;
  justify-content: center;
  background-color: rgba(0, 0, 0, .3);

  .content {
    display: flex;
    justify-content: center;
    align-items: center;

    i {
      font-weight: 700;
      color: white;
      background: #409eff;
      border-radius: 100%;
      padding: 5px;
      font-size: 23px;
    }

    img {
      margin: 0 15px;
      max-width: 1000px;
      max-height: 800px;
    }
  }
}
</style>
main.ts中引入
import ShowImage from "./components/ShowImage/index"

let app = createApp(App)
app.use(ShowImage)
app.mount('#app')
调用
const { proxy } = getCurrentInstance() as any;
proxy.$Image("https://alioss.xiamoqwq.com/anime_pic/202206710261970840.png")
这里其实用 $Image() 就可以直接调用了,不过这么写是为了避免编译时ts的报错,也算是规范?
Comments | NOTHING